Security Roles and Permissions allow system administrators to create a standard grouping of permissions that can be assigned to users, and these roles determine what individual users can access and do within the system. Security roles are important because they enable an organization to grant certain people access to certain data and also restrict access to certain data.
| Managing Security Roles | Additional Information | Training and Troubleshooting Resources | ||
|
On the General page, administrators define the general characteristics about the role.
To create a security role, go to . Then, click the Create New Role link.
| PERMISSION NAME | PERMISSION DESCRIPTION | CATEGORY |
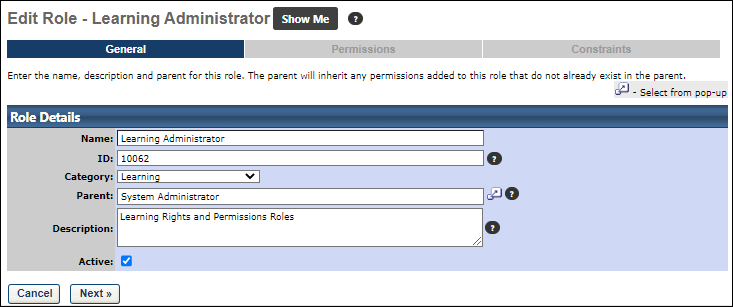
Enter the following fields:
- Name - The name of your role. This is required.
- ID - Enter a unique security role ID. The field accepts alphanumeric characters and the character limit is 100. This is required. If an ID is not provided, the system automatically generates a value. Note: Because this value must be unique, when a role is copied, the system generates a new, unique value for this field.
- Category - From the drop-down list, select a category for the role. Categories must be defined prior to creating a security role. See Add Security Role Categories.
- Parent - Click the Select icon to search for and select a parent role for the new security role. The Parent role determines the role hierarchy and also determines the permissions that are available for this role. Only permissions available in the parent role can be selected for use in the child role. Any existing security role can be selected.
- Description - Enter a description for the role, which explains the role's purpose. This is required and the character limit is 500.
- Active - Select this option to make the role active. Deselect this option to make the role inactive.
Click to continue to the Permissions section. See Security Role - Create - Step 2 - Permissions.