The Actions step is used to define the action buttons that are available to users in the login message box.
The Login Message works with the most commonly used landing pages:
- Welcome Page
- Custom Pages
- Learner Home
- Other pages that contain “/ui/” in the URL
- Other pages that contain “/phnx/driver.aspx?” in the URL
To create a login message, go to . On the Login Message Administration page, click the Create Login Message link.
Actions
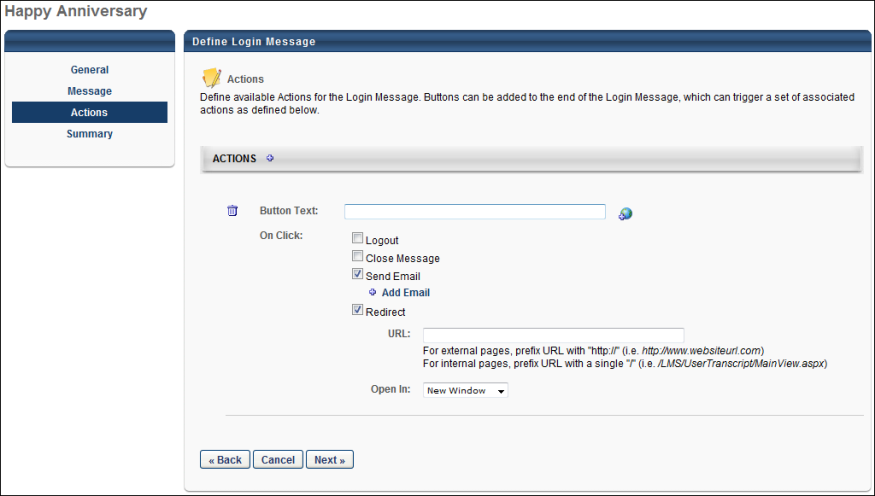
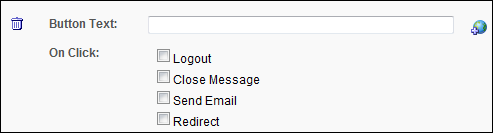
To add action buttons, click the plus icon in the Actions panel header. This opens the options for defining buttons and on-click actions. Up to six buttons can be added. Note: By default, each time an action is added, the Button Text field is blank and all on-click options are deselected.
- Button Text - Enter the text that will appear on the button. This is a required field for each action button. For portals with multiple languages, click the Translate icon to enter localized text.
- On Click - This option defines the on-click actions that are available to users. At least one on-click action must be defined for each action button. The following on-click actions are available:
- Logout - Select this option to log the user out of the portal when they click the action button.When this option is selected, the Close Message option is checked and disabled by default because the message automatically closes as a result of the logout action. This action does not count as a valid login towards the Recurrence configuration.
- The User Last Access field in custom reports displays the last login for the user. This field is updated at the time the user logs in, regardless of what is selected on the login message.
- Close Message - Select this option to close the message when the action button is clicked. Note: Selecting this option is required if the Allow users to close the message box option is not selected on the General step.
- If the Close Message icon is included in the login message and the user selects it, the message box closes and the login will count towards the recurrence count.
- Send Email - This option sends an email to the user when the action button is clicked. Selecting Send Email enables the Add Email link to appear below the option. Clicking the link opens a pop-up from which to select the email.
- Redirect - Select this option to redirect users to a specified URL. Selecting Redirect enables the URL and Open In fields to appear below the option.
- URL - Enter the URL to which you would like users to be redirected. This is a required field if Redirect is selected.
- Open In - This option defines whether or not users are redirected in a new window or in the same window. The "New Window" option in the drop-down is selected by default.
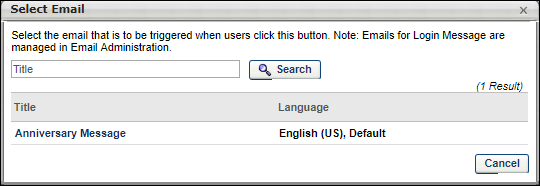
You can filter emails by title using the Title search option, and then clicking . To select an email, click the title in the Title column. This closes the pop-up and adds the email below the Send Email field. You can delete emails that you selected by clicking the Trash Can icon to the left of the email title.
Note: Emails for login messages are configured in Email Administration. See Email Triggers for information on the Login Message Email trigger. See Email Tags for information on the tags that are available for the Login Message email.
- Logout - Select this option to log the user out of the portal when they click the action button.When this option is selected, the Close Message option is checked and disabled by default because the message automatically closes as a result of the logout action. This action does not count as a valid login towards the Recurrence configuration.
You can delete an action by clicking the Trash Can icon to the left of the Button Text field.
The action buttons appear in the login message box in the order in which they are added. The order cannot be redefined.
Next/Back
Click to go to the Summary step. See Create Login Message - Summary.
Click to go to the Message step. See Create Login Message - Message.