Use the SMART Wizard to create specific, measurable, actionable, relevant, and timely goals. The SMART Wizard contains five sections that cover the different aspects of the goal. The wizard guides you through five goal sections that you must complete in order:
- Specific
- Measurable
- Actionable
- Relevant
- Timely
If any information is entered on the Create Goal page before opening the SMART Wizard, that information is automatically pre-populated in the SMART Wizard.
- To create a goal, go to . Then click the button.
- To create a goal using the SMART Wizard, click the button in the upper-right corner of the Create Goals page.
| PERMISSION NAME | PERMISSION DESCRIPTION | CATEGORY |
Specific
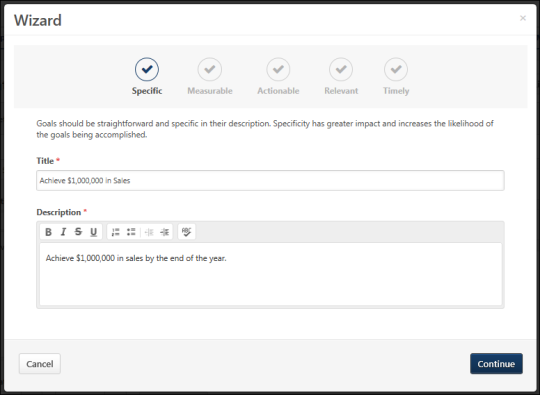
Enter a clear and meaningful title and description for your goal.
- Title - Enter the title for your goal that will appear on the My Goals page as well as anywhere else your goal is visible. This field is limited to 1,000 characters.
- Description - Enter an overview of the goal, including any objectives or parameters. This field can be formatted using the text formatting buttons and is limited to 10,000 characters.
Click to go to the next page.
Measurable
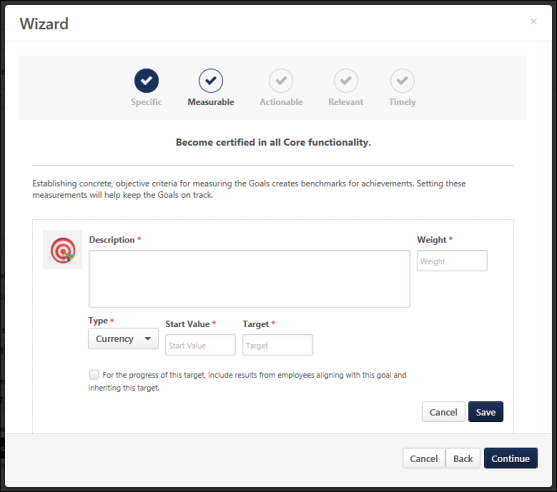
Make your goal measurable by adding quantifiable targets, ensuring your goal remains on track for completion.
- To add a target to the goal, click the button. See Goals - Create/Edit - Add Task or Target.
- To edit a target, click the Edit icon
 to the right of the appropriate target.
 - To delete a target, click the Delete icon
 to the right of the appropriate target.
Note: Total weight is not visible for goals when using the wizard.
Click to go to the next page.
Actionable
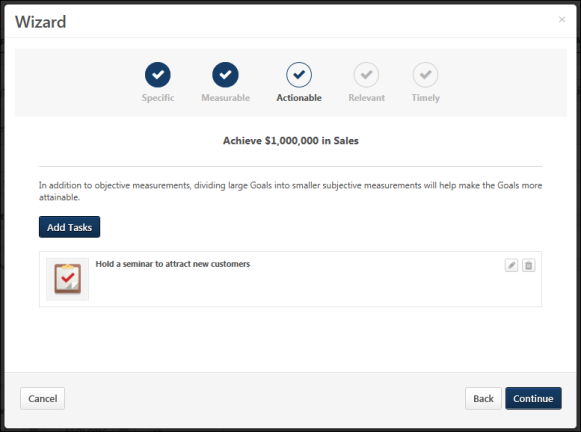
Make your goal actionable by adding tasks, which will help to make sure you are taking the right steps to complete your goal.
- To add a task to the goal, click the button. See Goals - Create/Edit - Add Task or Target.
- To edit a task, click the Edit icon to the right of the appropriate task.
- To delete a task, click the Delete icon to the right of the appropriate task.
Click to go to the next page.
Relevant
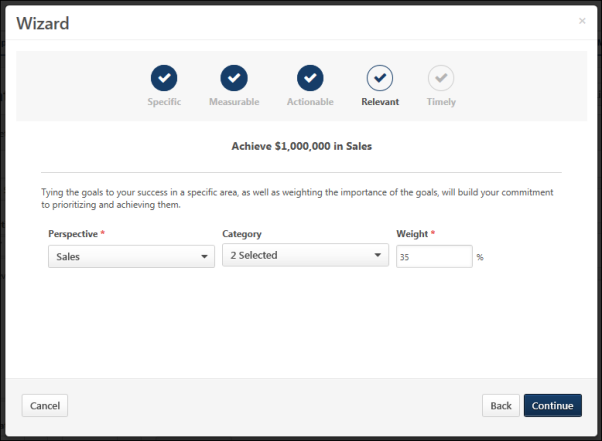
Associate your goal with certain aspects of the company and weigh its importance.
- Perspective - Select a perspective. The perspective is used to specify to which aspect of the organization your goal relates. A goal can only be associated with one perspective. Perspectives are defined by system administrators.
- Category -Select all categories that are appropriate for your goal. Categories are used to further define the type of goal you are creating. A goal can have multiple categories. Categories are defined by system administrators.
- Weight - Enter a weight for your goal between 0 and 100. Weighting allows you to place a greater value on certain goals. For example, if you have four goals for a review period and they are valued equally, you should assign them each a weight of 25%. Similarly, if one goal is more important than the others, you may give that goal a weight of 40% and assign the other three a weight of 20%. The heavier weighted goal will count more towards your overall goal progress than the other three. Depending on a backend setting, the weight percentage field may accept up to two decimal places.
Click to go to the next page.
Timely
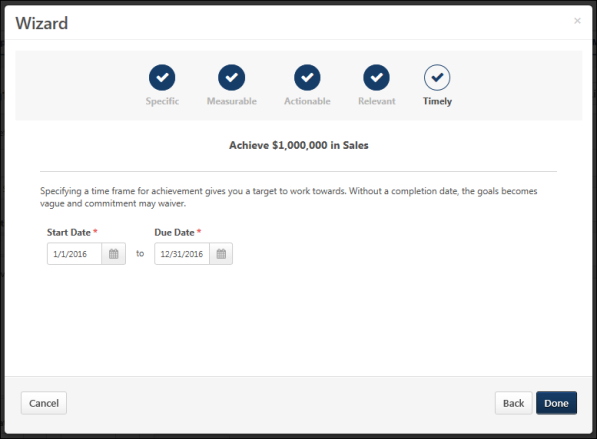
Specify a time frame for achieving your goal.
- Start Date and Due Date - Click the Calendar icon
 to select the date on which the goal should be started and the date by which the goal should be completed. The Start Date must be before the goal Due Date. If this goal is being aligned to another goal, these dates must be within the Start and Due Date of the parent goal. When you view your goals or run goal related reports, the Start Date and Due Date are used to determine which goals are included. If any part of a goal falls within the specified time frame, the goal will display.
Click to finish the Wizard and create the goal. The information you added is now included in the Create/Edit Goal screen. See Goals - Create/Edit.