The Respond page allows you to grant or deny exception requests. The page is accessed from the Exception Requests page by clicking the Respond link in the Respond column on the Current tab.
| PERMISSION NAME | PERMISSION DESCRIPTION | CATEGORY |
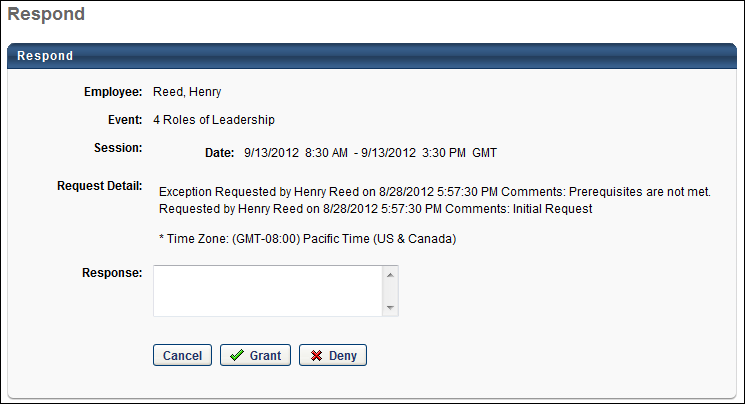
The following information displays in the upper section of the Respond page:
- Employee - This field displays the name of the user for whom the exception is requested.
- Event - This field displays the title of the event for which the exception is requested.
- Session - This field displays the date and time of the session for which the exception is requested.
- Request Detail - This field displays information about who submitted the request, when it was submitted, and the time zone in which it was submitted. If applicable, this field also displays the approver's name and the date and time that they approved the request. Note: When a request is submitted, if an approval process is associated with the training or the user, then the normal approval process must be completed before the exception request appears on the Exception Requests page.
To grant or deny a request:
- Navigate to the Current tab of the Exception Requests page.
- Click the Respond link in the Respond column. This opens the Respond page.
- Enter a reason for granting or denying the request in the Response box. Comments entered will appear on the LO Details page.
- Click to grant the request. When a request is granted, the following occurs:
- Click to deny the request. When a request is denied, the following occurs:
- The training status on the user's transcript changes from Exception Requested to Denied.
- The Deny Exception Request email is triggered, if activated.
- Click to cancel the action and return to the tab.