Create Express Class - Summary
The process for creating an Express Class is comprised of three steps:
- General Information - See Create Express Class - General Information.
- Attendees - See Create Express Class - Attendees.
- Summary
On the Summary step, the user can review their Express Class selections, go back and make changes if necessary, and submit the Express Class.
To create an Express Class, go to:
| PERMISSION NAME | PERMISSION DESCRIPTION | CATEGORY |
Summary
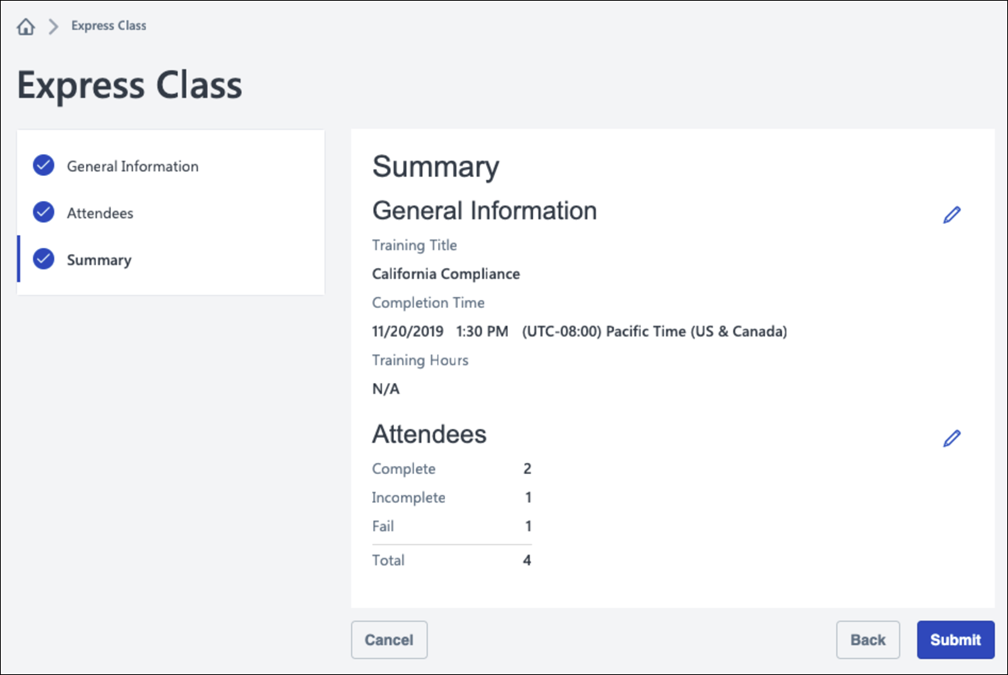
The Summary page displays your selections for the General Information and Attendees steps in the Express Class creation process.
The following fields and your corresponding selections appear in the General Information section:
- Training Title
- Completion Time
- Training Hours
To make changes to this information, click the Edit icon to the right of the General Information section. You will be returned to the General Information step, where you can make modifications and progress through the Express Class process again.
The following fields and your corresponding selections appear in the Attendees section:
- Total (number of users assigned to the Express Class)
- Pass (number of assigned users who are recorded as having passed the Express Class)
- Incomplete (number of assigned users who are recorded as having not completed the Express Class)
- Fail (number of assigned users who are recorded as having failed the Express Class)
To make changes to this information, click the Edit icon to the right of the Attendees section. You will be returned to the Attendees step, where you can make modifications and progress through the Express Class process again.
To finalize and submit the Express Class, click the button at the bottom of the Summary page.
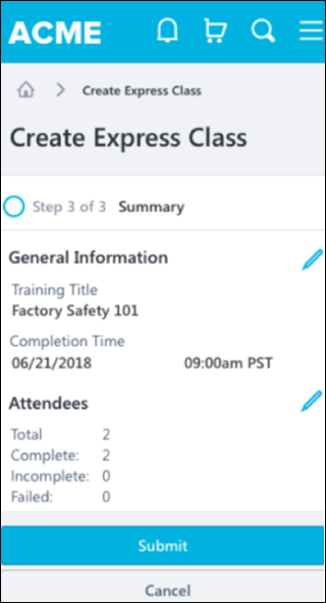
Mobile Browser
Express Classes can be created in-browser on mobile devices. The process for creating the Express Class and the available fields are the same, but the display is optimized for mobile devices.