On the Add Vendors page, administrators can create and edit vendors. They can also manage the active status of a vendor.
To add a new SF-182 Vendor, go to . On the SF-182 Administration page, click the Manage SF-182 Vendors link. Then, click the Add New Vendor link on the SF-182 Vendors page.
| PERMISSION NAME | PERMISSION DESCRIPTION | CATEGORY |
| SF-182 Administration | Grants ability to view SF-182 requests for populations of users (based on constraints), approve SF-182 forms at any step of the process, and view the link for managing SF-182 specific vendors for their organization. (Governmental clients). This is an administrator permission. | Limited Use/Obsolete |
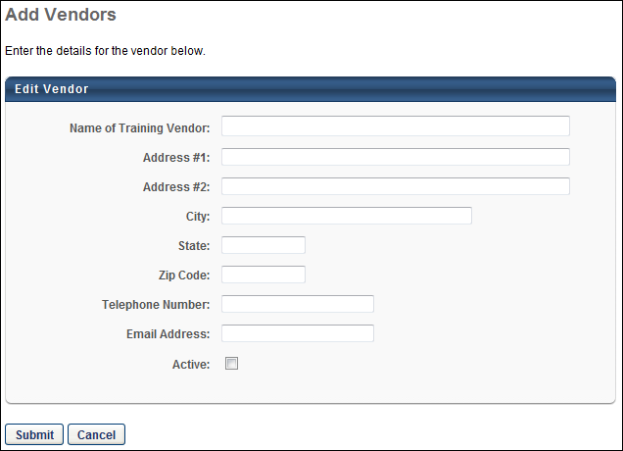
Add Vendor
When adding a vendor, all fields except Address #2 are required.
To add a vendor:
- Enter the vendor name, up to 500 characters.
- Enter the address in the Address #1 field, up to 500 characters.
- Enter additional address information in the Address #2 field, up to 500 characters.
- Enter the city in which the vendor is located, up to 250 characters.
- Enter the state in which the vendor is located, up to 100 characters.
- Enter the vendor's zip code, up to 20 characters.
- Enter the vendor's phone number, up to 20 characters.
- Enter the vendor's email address, up to 250 characters.
- Check the Active option to activate the vendor.
- Click .
If the vendor is active, the vendor appears on the SF-182 Vendors page and is available to select on the Training Vendor pop-up of the SF-182 request form.
If the vendor is not active, the vendor is not visible on the SF-182 Vendors page unless you check the Show Inactive box. Further, inactive vendors are not available to select when creating, editing, or copying an SF-182 request.