Application Workflow - Thank You Page
A Thank You page can be added to the application workflow so that when applicants submit their application, the Thank You page appears. The page can be helpful by letting applicants know that their application was submitted successfully and thanking the applicant for applying. The page can be added on the application workflow template, requisition template, default requisition template, or requisition and child requisition.
For Mobile-Friendly workflow types, you can also add tags to a custom Thank You page so that recruiters can use the data gathered from the tracking pixel to connect hired candidates to the data that is tracked. See Create Mobile-Friendly Application Workflow.
The Thank You page appears for applicants after they click on the application. The page cannot be removed from mobile-friendly application workflows.
To create an application workflow template, go to . Then click Create Template.
| PERMISSION NAME | PERMISSION DESCRIPTION | CATEGORY |
| Application Workflow Template - View | Grants ability to access and view Application Workflow Templates. | Recruiting Administration |
Administrators can only edit templates that they created or that were created by other administrators who exist within the constraints applied to this permission.
Thank You Action Item
The Thank You action item is only available for the Submit Application section. This action item always appears as the last step of the application and cannot be moved to a different location in the workflow.
To add a Thank You page:
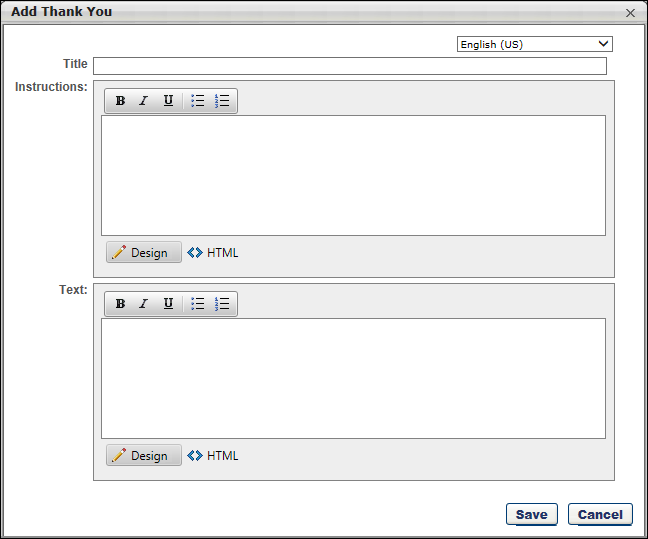
- Click Thank You from the Add Action Item drop-down. This opens the Add Thank You pop-up.
- Select the language for the page in the language drop-down. This option is only available for portals with multiple languages enabled.
- Enter a Title in the Title field.
- Enter instructions for the page in the Instructions field. The instructions appear above the Thank You page text. The Instructions field accepts HTML. JavaScript is not supported.
- Enter the text of the Thank You page in the Text field. HTML is accepted. JavaScript is not supported.
Preview Thank You Page
You can preview the Thank You page by clicking at the bottom of the application workflow. This opens the application and allows you to click through to the Thank You page to see how it will look for applicants and determine if changes are needed.
Progress Recorded For Added/Moved Applicants
When adding or moving an applicant to a different requisition that has a Thank You page configured, the system will track the applicant's progress once they are added or moved.
In addition, applicants will not need to complete a Notes section when applying to the requisition to which they were moved if the text of the note is the same for both requisitions.
How to Add a Third-Party Partner’s Tracking Pixel to an Application
Recruiting helps you understand the effectiveness of third-party solutions utilized to advertise your jobs across the Web. Many third-party solutions, such as Indeed and Glassdoor, offer tracking features to capture real-time applicant conversions. This section explains how to embed a third-party tracking pixel into the Thank You page of your application workflow, enabling you to track the number of job seekers who successfully convert to an applicant as a result of visiting your jobs.