Compensation types can be added to display in the Compensation Type field on the General step when creating/editing a job requisition template or job requisition.
To access Requisition and Applicant Preferences, go to .
| PERMISSION NAME | PERMISSION DESCRIPTION | CATEGORY |
| Requisition Preferences - Manage |
Grants ability to access and manage Requisition and Applicant Preferences. This permission cannot be constrained. Note: Users with the Requisition: Manage permission will not be affected by Field Level Access settings. |
Recruiting Administration |
Add Compensation Types
To add compensation types:
- Click the Add icon
 . This opens the Add Compensation Type pop-up.
 - Enter the compensation type in the Name field, up to 50 characters.
- Click .
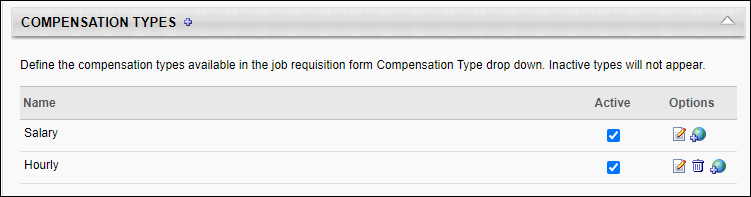
Note: Compensation types display on the job requisition template or job requisition in the order in which they are entered; the order cannot be modified.
The Active box is checked by default and enables the type to display in the Compensation Type drop-down on the General step when creating a job requisition template or a job requisition. If unchecked, the type is hidden from users. Changing the active status only affects future instances of creating/editing job requisition templates or job requisitions.
In the Options column, the following options are available:
- Edit - Click the Edit icon to open the Edit Compensation Type pop-up and edit the type name. Edits to the name affect all instances of the compensation type currently in use on a job requisition template or job requisition as well as future use of the compensation type, which also impacts reporting. As a best practice, edits to the name should be reserved for minor corrections to spelling or grammar only.
- Delete - Types can only be deleted if they have not been selected on a job requisition template. Click the Delete icon to delete the compensation type.
- Translate - If multiple languages are available for your portal, you can click the Translate icon to translate the name into the other available languages, up to 50 characters. If a translation is not available for a user's display language, the name appears in the default language defined by the employment type creator.