When creating a form task, the second step is to define the availability for the task and the storage destination for the completed form. These options determine the users who will receive the task, as well as where the form will be stored once it is submitted.
If the Employee Onboarding functionality is enabled for the portal, then the availability settings also enable the selected users to add the form to the Transition Workflows page.
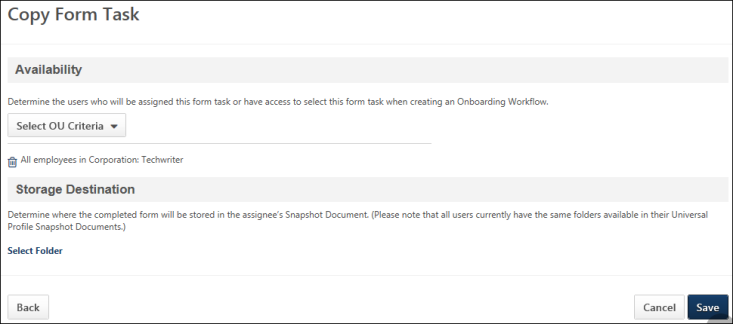
Availability
This is a required field. To define the availability, select an organization unit (OU) from the Select OU Criteria drop-down. All OUs that are available for the portal display in the drop-down. One or more OUs can be selected.
Storage Destination
Section Visibility Note: The Storage Destination section only displays if the form selected for the task is not configured to include a storage destination. The storage destination can be configured on the Storage tab when creating the form in Manage Forms. Forms that are configured as applicant forms are not required to have a storage destination when the form is created.
The Storage Destination section displays on the second step of the form task creation process. This section allows administrators to select the folder in Universal Profile where the form will be automatically stored when submitted. This section is required to be completed.
To define the storage destination, select the Select Folder link. This opens the Select Folder pop-up. All folders that are available display in the Folder Name table.
Note: The folders that are available to select are defined by the administrator in Documents Preferences.
Note about Copying Forms: When copying form tasks from the Form Task Administration page, the folder selection in the Storage Destination section is not copied.
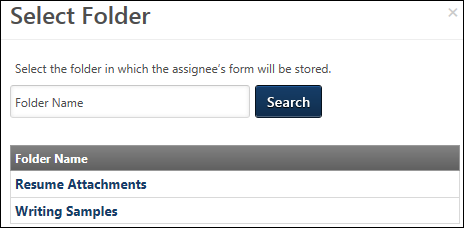
The following information displays in the pop-up:
- Folder Name Filter - Use this option to filter the list of folders by the folder name. The field accepts full or partial names. Click to update the list of folders.
- Folder Name Table - This table displays the folders that are available to select. The names of the folders are linked. Selecting the linked folder name closes the pop-up and populates the Storage Destination section with the folder name.
Selected Folder Options
Once the folder is selected, options are available in the options drop-down to edit and delete the selection.
Edit Folder Selection
To change the folder selection, select the Edit option from the options drop-down. This opens the Select Folder pop-up from which to select a different folder.
Delete Folder Selection
To delete the selected folder as the storage destination, select the Delete option from the options drop-down.
Save
Click to save the form task. If the form has not been published, a pop-up displays indicating that the form will be locked for edits.
Once the start date occurs for the task, the task is assigned to the users selected in the Availability section. The Form Assigned email is triggered, if the email is configured and active in Email Management. The task appears on the users' Actions tab in Universal Profile and can be launched from there. Once the form is submitted, the completed form can be found in the folder defined in the Storage Destination section.
Note: If the start date is the current date, then the form is assigned once the form is processed. Forms require a short processing time after they are saved.
Note: Launching form tasks can only be done from the Actions tab in Universal Profile. Therefore, Universal Profile must be enabled in the portal in order for users to complete forms.
Cancel/Back
Click to cancel creating the form task.
Click to return to the previous step in the form task.