Create Client Accounts
The Create Client Account page allows you to create new client account organizational units (OU). Client accounts are created so that you can associate subscriptions with certain clients. This helps in tracking subscriptions via custom reporting.
To create client accounts, go to and click the button on the Manage Client Accounts page.
Create a Client Account
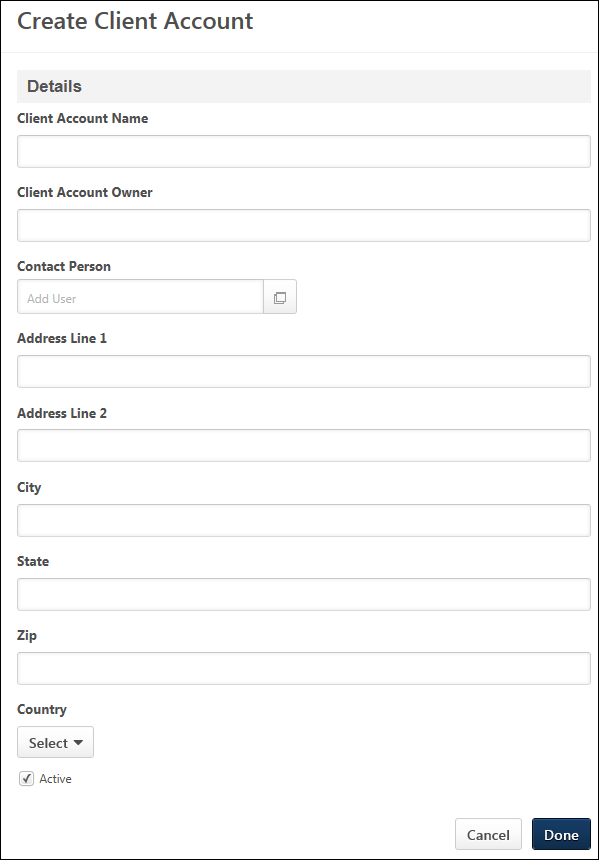
To create a client account, complete the following fields on the Create Client Account page:
- Client Account Name - Enter a name for the client account, up to 100 characters.
- Client Account Owner - Enter an owner for the client account, up to 300 characters.
- Contact Person - Define a contact person for the subscription. Click the Add User icon
 , which opens the Add user pop-up. Search for the user, and then click the plus icon
  to the left of the user's name. This closes the pop-up and adds the user as the contact.
 - Address Line 1 - Enter the address for the client account, up to 300 characters.
- Address Line 2 - Enter a second address line for the client account, up to 300 characters.
- City - Enter the city, up to 300 characters.
- State - Enter the state, up to 300 characters.
- Zip - Enter the ZIP Code, up to 300 characters.
- Country - Select the country from the drop-down.
- Active - The Active box is checked by default. Uncheck the box to inactivate the client account. If an account is inactivated but has an associated subscription, the subscription remains active unless inactivated or expired.
Cancel/Done
Click to cancel creating the account.
Click to create the account.
Edit Client Account
When editing a client account, all fields are editable. Note: Client accounts can be modified by clicking Edit from the Options drop-down on the Manage Client Accounts page.